How to Find a Bra That Actually Fits
Disclosure: Some of the links in this post are affiliate links. This means if you click on the link and purchase an item, I will receive an affiliate commission at no extra cost to you.
Truth be told: finding a bra that actually fits shouldn’t feel like such a struggle. Yet somehow, every shopping trip turns into the same frustrating routine.
You try one on and the band digs into your ribs. Another has straps that leave painful marks on your shoulders. The cups gape, spill over, or simply refuse to sit where they should.
And after trying enough bras that don’t work, you might start thinking, “Maybe this is just how bras are supposed to feel.” It’s not.
If you have a fuller bust or a curvier figure, finding the right bra can be even more challenging. Between confusing size charts, limited size ranges, different brands using different measurements, and styles that promise support but deliver discomfort, it’s easy to feel completely overwhelmed.
But let’s clear something up right now: your body is not the problem. A poorly fitting bra is.
You shouldn’t have to spend your entire day pulling up your straps, adjusting your band, fixing overflowing cups, or putting up with an underwire that digs into your skin. And you definitely shouldn’t have to settle for an uncomfortable bra simply because it’s the closest thing you could find in your size.
What You Deserve
You deserve a bra that works with your body instead of fighting against it.
- A band that feels secure without squeezing your ribs.
- Straps that stay in place without digging into your shoulders.
- Cups that completely contain your breasts without spilling or gaping.
- An underwire that sits comfortably around your breast tissue instead of poking you.
- A fit that stays comfortable when you move, sit, bend, and go about your day.
Finding that kind of bra is absolutely possible. The key is learning how a properly fitted bra should look and feel, rather than relying only on the size printed on the label.
So, forget everything you thought you knew about bra shopping. In this guide, we’re going through the signs of a good fit, the common mistakes that make bras uncomfortable, and exactly what you should look for the next time you shop.
Because the goal isn’t to find a bra you can simply tolerate.
It’s to find one that feels so comfortable and supportive that you barely notice you’re wearing it.
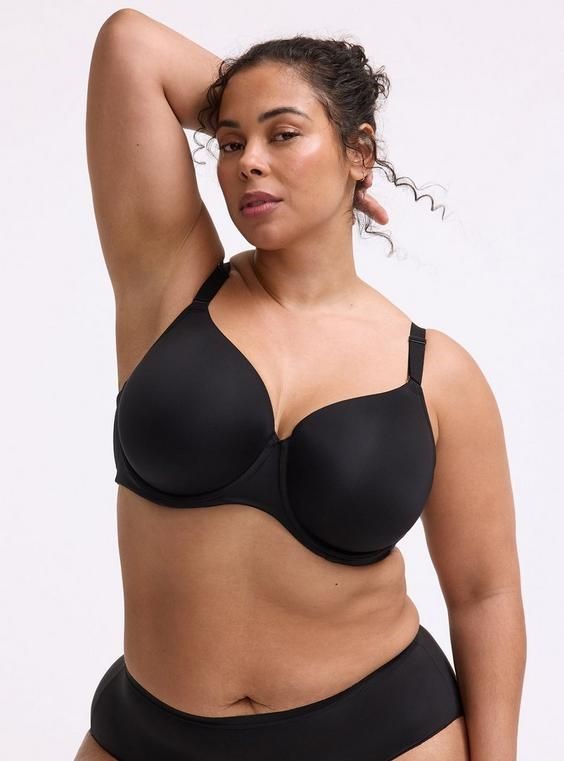
Before You Shop: Know Your Measurements
Before you start filling your cart with pretty bras, there’s one thing you need to do first: know your measurements.
And no, you don’t have to rely on the size you’ve been wearing for years. Bodies change. Weight can fluctuate, breast tissue can change, and different brands can fit completely differently.
That old bra size you’ve memorized might not actually be your best size anymore. If you’ve ever wondered if you’re simply wearing the wrong size, You’re Probably Wearing the Wrong Size (Here’s How to Tell) is worth a look too.
The good news is that measuring yourself at home is surprisingly simple.
All you need is a soft measuring tape and a few quiet minutes. Ideally, wear a lightly lined or unpadded bra so you can get a more accurate measurement.
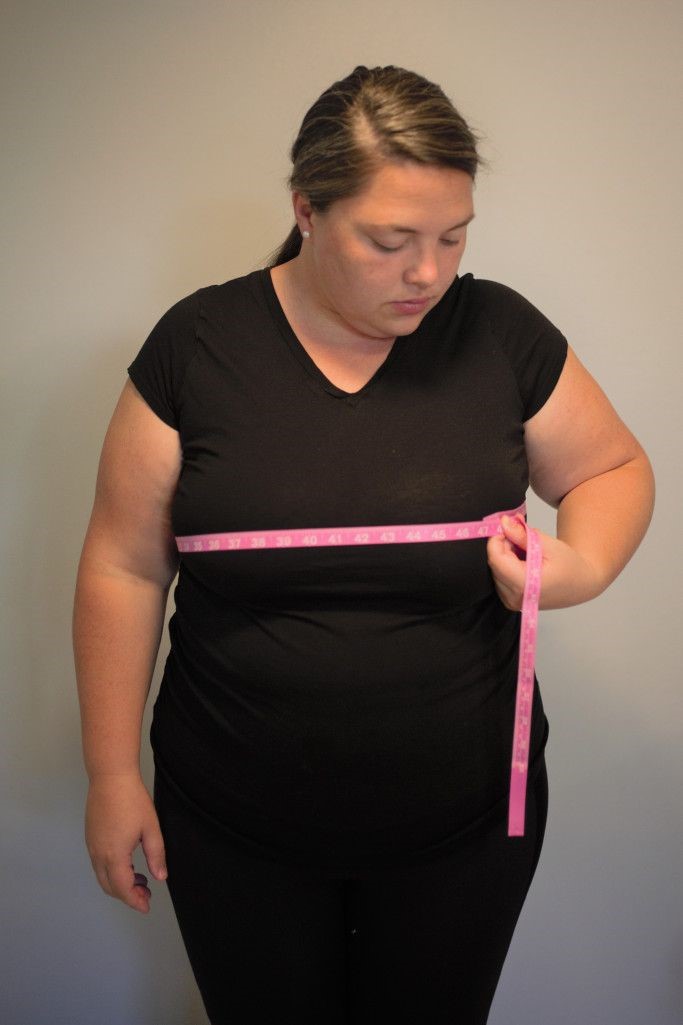
Step 1: Measure Your Band Size
Start underneath your bust, right where the bottom edge of your bra band normally sits. Wrap the measuring tape around your body, keeping it level all the way around.
The tape should feel snug against your skin without digging in or squeezing you uncomfortably.
Take the measurement in inches and write it down.
This gives you a starting point for your band size. The band is one of the most important parts of your bra because it provides much of the support.
If it’s too loose, it may ride up your back. If it’s painfully tight, you’ll probably spend the entire day adjusting it and wondering when you can finally take it off.
But before you turn that number into a bra size, there’s an important mistake you need to avoid.
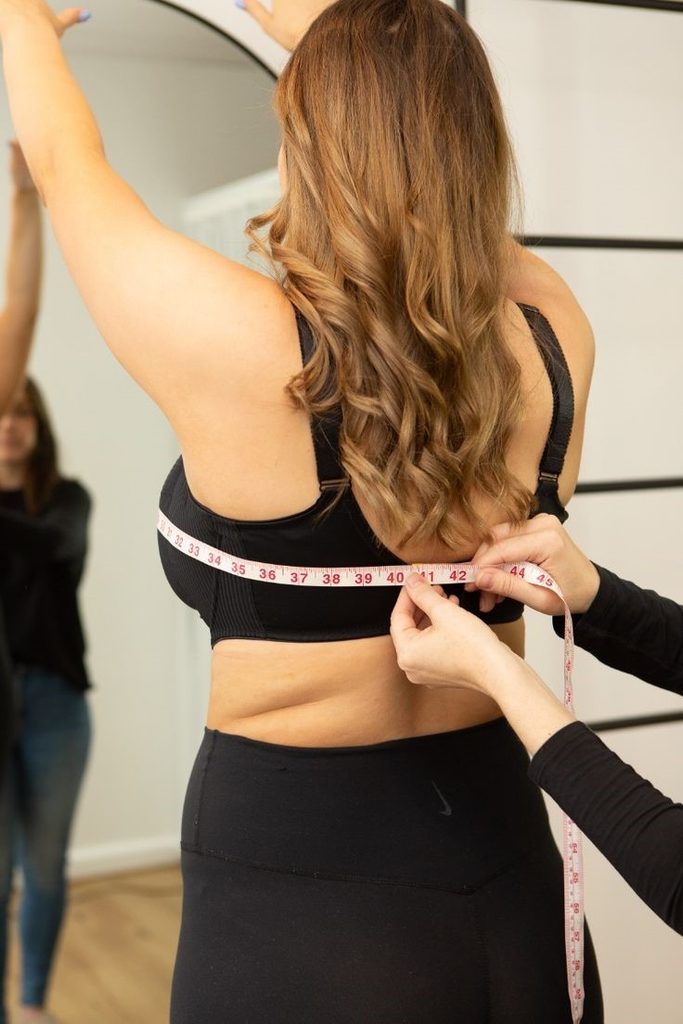
The One Sneaky Measurement Mistake That Can Throw Everything Off
For years, many women were taught to use the old “add four inches” method. The idea was simple: measure around your ribcage, add several inches, and use that larger number as your band size.
The problem? Adding inches can lead you toward a band that’s unnecessarily loose.
For example, if your snug underbust measurement is around 38 inches, you may have been told to shop for a 42 band using an older sizing method.
Then comes the familiar frustration: the band rides up your back, the straps dig into your shoulders, and you find yourself constantly pulling the bra back into place.
That’s because the band is supposed to provide much of the support. When it’s too loose, it can’t stay securely anchored underneath your bust, leaving your straps to do more work than they should.
So What Should You Do Instead?
Use your actual underbust measurement as your starting point and then check the individual brand’s size chart.
If your snug underbust measurement is around 38 inches, a 38 band may be a reasonable starting point. However, don’t treat that number as a guarantee. Bra sizing varies between brands, and your best size can change depending on the style and construction of the bra.
What matters most is how the band feels.
A properly fitting band should feel comfortably snug and sit level around your body. It shouldn’t painfully squeeze your ribs, but it also shouldn’t creep upward when you move.
If you’ve been wearing a loose band for years, a properly fitted one might feel surprisingly snug at first. The important thing is learning to distinguish supportive snugness from uncomfortable tightness.
Once you have your band measurement figured out, you’re halfway there. Now we need to find the other half of the equation: your bust measurement.
Step 2: Measure Your Bust
Next, measure around the fullest part of your bust.
Keep the measuring tape comfortably against your body without pulling it tight or letting it hang loosely. Try to keep the tape level around your back as well.
Write down this measurement.
Now you have two important numbers: your underbust measurement and your fullest bust measurement.
The difference between those measurements gives you a starting point for determining your cup size.
But before we do that, remember that measurements are only a starting point. Different brands, fabrics, cup shapes, and bra styles can all affect how a particular size fits.
That’s why it’s important to use your measurements alongside the brand’s own size chart rather than assuming one size will work everywhere.
Understanding these numbers can also help you avoid The Most Common Bra Fitting Mistakes Plus Size Women Make, especially when shopping online.
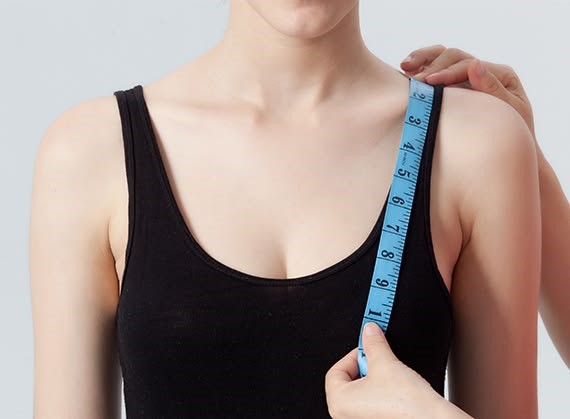
Step 3: Crack the Code and Find Your Cup Size
Now for the part that sounds more complicated than it actually is.
Take your fullest bust measurement and subtract your band measurement. The difference gives you a starting point for your cup size.
A common sizing guide looks like this:
- 1-inch difference: A cup
- 2-inch difference: B cup
- 3-inch difference: C cup
- 4-inch difference: D cup
- 5-inch difference: DD or E cup
- 6-inch difference: DDD or F cup
- 7-inch difference: G cup
- 8-inch difference: H cup
For example, if your starting band size is 38 and your fullest bust measurement is 46 inches, the difference is 8 inches. That gives you a starting point of 38H.
Simple, right?
But there’s an important detail here: your calculated size is not necessarily the size you’ll end up buying.
Cup letters are relative to the band size. A D cup in one band size does not have exactly the same volume as a D cup in another. That’s why two women can both wear a D cup while having noticeably different breast volumes.
Your breast shape and the style of the bra matter too.
A full-coverage bra, balconette, plunge bra, and molded cup can all fit differently, even when they have the same size printed on the label.
So don’t let a larger cup letter scare you. Cup letters are simply a way of describing volume. They aren’t a measurement of how “big” or “small” your body should be.
The goal is to find a band and cup combination that comfortably contains your breasts, supports you properly, and stays in place throughout the day.
And now that you have your measurements and a starting size, we can move on to something even more important: how to tell if that size actually works once you put the bra on.
How to Tell If the Band Actually Fits
Now that you have your measurements and a starting size, it’s time to forget the numbers for a moment.
Because the real test begins when you put the bra on.
A bra can have your “correct” size printed on the tag and still fit terribly. That’s why you shouldn’t judge a bra by the label alone. Your body will tell you much more than the number ever could.
Start with the band.
The band should sit comfortably around your body in a straight, level line. Check yourself in the mirror from the front and the back. If the back of the band is creeping upward toward your shoulder blades, that’s a major clue that something isn’t right.
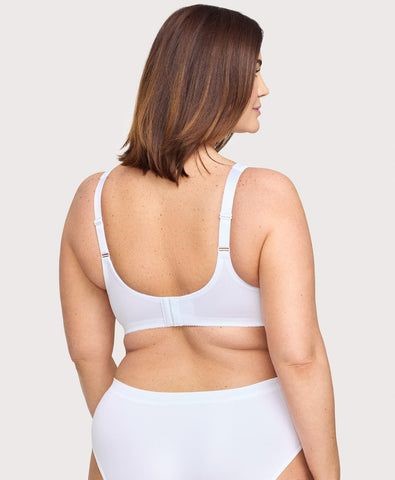
The Two-Finger Test
Slide two fingers underneath the back of the band.
You should be able to fit them underneath without struggling, but the band shouldn’t feel loose enough to pull several inches away from your body.
If you can easily pull the band far away from your back, it may be too loose.
If you can barely slide a finger underneath and the band feels painfully restrictive, it may be too tight.
The sweet spot is secure, comfortable, and supportive.
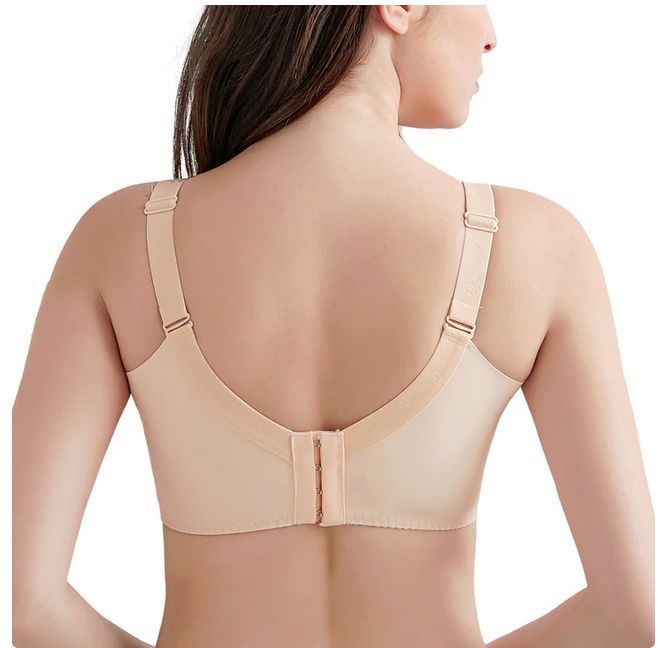
Start on the Loosest Hook
Here’s another little detail that can make a huge difference: when trying on a brand-new bra, fasten it on the loosest hook.
A new bra should feel comfortably secure there. As the elastic naturally stretches with regular wear, you can gradually move to the tighter hooks to maintain the same supportive fit.
If you have to start on the tightest hook just to keep the band in place, the band may be too loose for you.
And if you’re building a complete underwear wardrobe, don’t forget that comfort matters across the whole collection. You can use these same principles when putting together How to Build a Comfortable Intimates Collection for your body size, especially when choosing everyday bras versus special-occasion styles.
Move Around Before You Decide
Don’t just stand in front of the mirror for thirty seconds and declare the bra perfect.
Raise your arms.
Bend forward.
Sit down.
Walk around.
Twist from side to side.
The band should stay relatively stable instead of sliding upward, rolling, or digging painfully into your skin.
This little movement test can reveal problems you might completely miss while standing still in a fitting room.
And remember, a good bra shouldn’t require constant maintenance throughout the day. If you already know you’ll be pulling the band down, adjusting the straps, or repositioning the cups every few minutes, keep looking.
Once the band passes the test, we can move up to the cups.
Because even when the band feels perfect, the cups can still tell you that you’ve got the wrong size or the wrong bra style.
The Cups Should Hold You, Not Fight You
Once the band passes the test, it’s time to turn your attention to the cups.
This is where things can get a little tricky. You might assume that spilling over means you simply need a larger bra, or that gaping automatically means you need a smaller one. Sometimes that’s true, but the shape and construction of the cup can be just as important as the size.
A properly fitting cup should comfortably contain your breast tissue without squeezing, spilling, or leaving obvious gaps.
Think of the cup as a supportive frame. It should work with your natural shape rather than trying to force your breasts into a shape they don’t naturally have.
Watch for Spillage at the Top
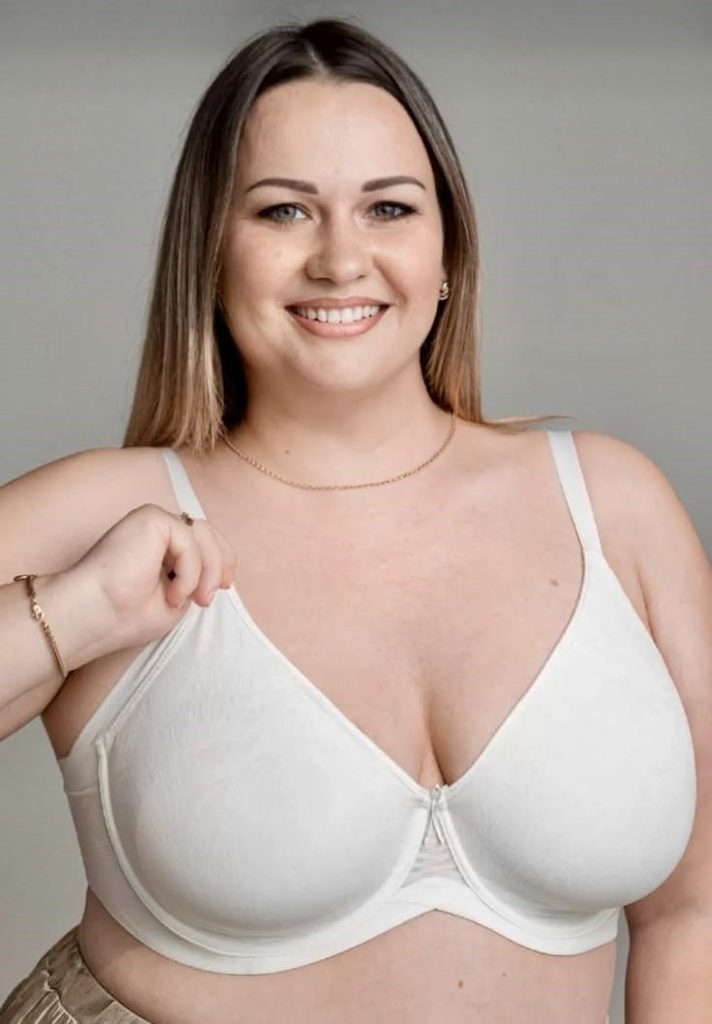
Start by looking at the top edge of the cups.
Are your breasts spilling over the edge, creating a noticeable line or bulge? This is often called the “quad-boob” effect, and it’s one of the clearest signs that something isn’t working.
Sometimes the cup is simply too small. In other cases, the cup shape may not be compatible with your breast shape.
Before deciding that you need to go up several sizes, try adjusting the cups properly. Gently scoop your breast tissue from the sides toward the center, then check the fit again.
If you’re still spilling over, try going up a cup size while keeping the same band size.
And if you regularly find yourself dealing with overflow, pinching, or cups that never seem to sit properly, it’s worth revisiting The Most Common Bra Fitting Mistakes Plus Size Women Make. Sometimes a small fitting mistake can completely change how a bra looks and feels.
Check the Sides Too
Don’t stop at the front.
Look at the area underneath your arms and along the sides of your breasts. Is breast tissue being pushed outside the cup? Does the edge of the cup feel like it’s cutting into you?
Some fullness at the sides is completely normal, but obvious spillage or painful compression is a sign that the cup may not have enough room or may be too narrow for your breast shape.
This is one of the reasons bra shopping can be so frustrating. Two bras can have exactly the same size printed on the label but fit completely differently because their cups have different shapes, depths, widths, or levels of coverage.
The size matters, but the construction matters too.
Now Check for Gaping
Of course, the opposite problem can happen too.
Instead of spilling out, you might notice empty space between your breasts and the cups. The fabric may wrinkle, collapse, or pull away from your body.
A little movement in a soft, unlined bra isn’t necessarily a problem. But obvious gaping, especially in a molded or padded cup, can mean the cup is too large or simply doesn’t match your breast shape.
And this is where many women make the mistake of blaming their bodies.
You don’t need to make your breasts fit the bra.
The bra needs to fit your breasts.
If the band feels secure but the cups are gaping, try another cup size or a different style. You may find that a plunge, balconette, full-coverage, or unlined bra fits much better than the style you originally picked.
Check the Center Gore
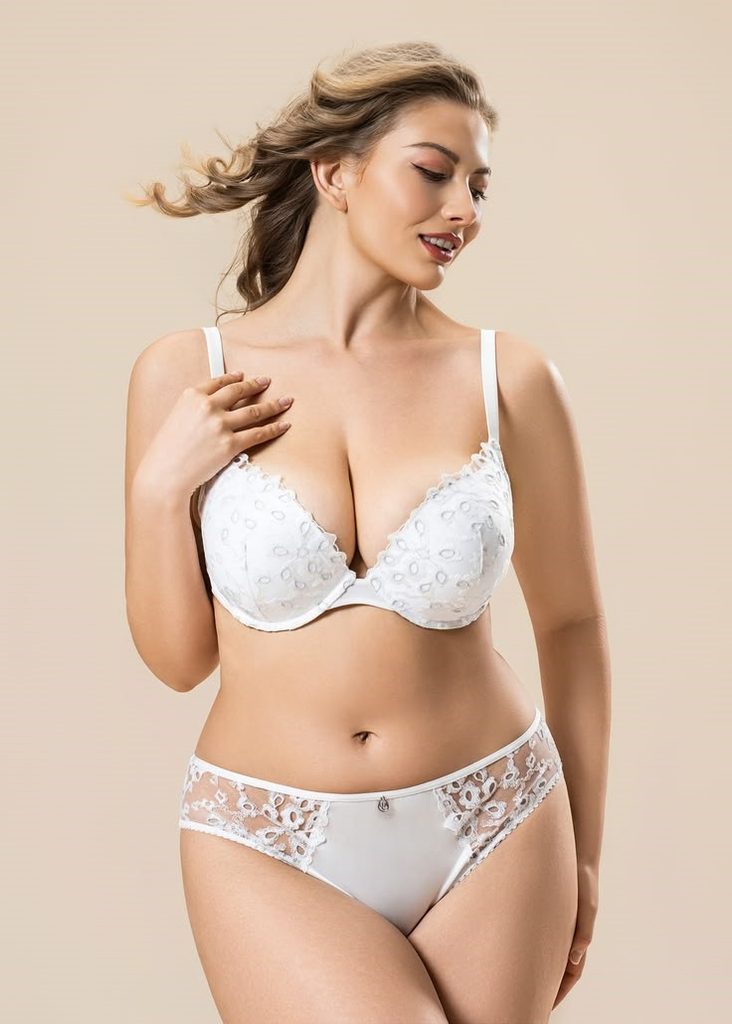
Now take a look at the piece of fabric between the cups, known as the center gore.
On many traditional underwire bras, the gore should sit comfortably against your chest. If it’s floating far away from your body, the cups may not be providing the right amount of coverage or the bra may simply be the wrong shape for you.
Don’t force it into place.
If you constantly have to press the gore against your chest or adjust the cups to keep everything where it belongs, the bra probably isn’t giving you the fit you need.
Your Body Shape Matters More Than You Think
This is where bra shopping gets much more personal.
Your breasts have their own natural shape, fullness, projection, and distribution. Some people have fuller breasts at the top, while others have more fullness at the bottom. Some have wider breast roots, while others have narrower ones.
That means the same bra can look completely different on two people wearing the exact same size.
So if one particular style doesn’t work for you, don’t immediately assume you’re wearing the wrong size. You may simply need a different cup shape.
And that lesson applies beyond bras. The right foundation can affect how your entire outfit sits on your body.
Sometimes what looks like a clothing problem is actually a matter of proportion or fit, which is why Why Some Clothes Make You Look Bigger (It’s Not Your Size) is worth keeping in mind when putting outfits together.
A properly fitting bra can also make your clothes sit more smoothly and help your overall proportions feel more balanced. If you’re interested in making small changes that have a big impact, 10 Styling Tricks Every Plus Size Woman Should Know has plenty of useful ideas.
Most importantly, don’t let a poorly fitting bra convince you that your body is the problem. And don’t feel pressured to squeeze yourself into something uncomfortable just to create a certain silhouette.
There’s a lot of unnecessary pressure around “fixing” our bodies, and Shapewear Myths You Can Stop Believing is a good reminder that comfort and confidence should come first.
Once you find a bra where the cups actually work with your body instead of fighting it, you’ll notice the difference immediately.
But we’re not done yet.
The band is secure. The cups are behaving. Now we need to talk about the straps.
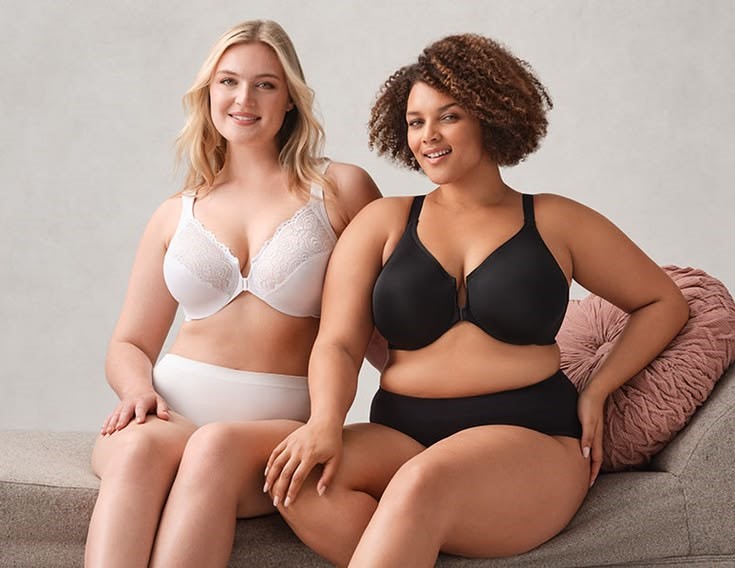
Your Straps Should Support You, Not Punish You
Now let’s talk about those two little strips of fabric that somehow manage to cause so much drama.
Your bra straps should provide some support, but they shouldn’t be responsible for holding up your entire bust. If you constantly find yourself tightening them, pulling them back onto your shoulders, or dealing with painful red marks by the end of the day, something is probably off.
A well-fitting bra should do most of its supporting work through the band, while the straps help keep everything comfortably in position.
If Your Straps Keep Falling Down
There’s nothing more annoying than having to pull your straps back onto your shoulders every five minutes.
If your straps keep slipping, first check the adjustment. They may simply be too loose.
But if you’ve tightened them as much as possible and they still fall down, don’t keep tightening. The problem may actually be the bra itself.
A band that is too loose can cause the entire bra to shift around your body, making the straps more likely to slide off your shoulders. Your shoulder shape can also play a role, especially if you have narrow or sloping shoulders.
Try adjusting the straps gradually and then move your arms around to see if they stay in place.
If Your Straps Are Digging Into Your Shoulders
Now for the opposite problem.
If your straps are leaving deep marks, causing discomfort, or feeling like they’re cutting into your shoulders, don’t automatically assume you need softer straps.
Your straps may be working too hard because the band isn’t providing enough support.
Remember: the band should do most of the heavy lifting. If it’s too loose, your body weight gets redistributed to the straps, which can quickly become uncomfortable.
This is one of those small fit issues that can make a huge difference in how you feel throughout the day.
Adjust Both Straps Evenly
When adjusting your bra, don’t assume both straps need exactly the same setting.
Your body isn’t perfectly symmetrical, and one breast may be slightly fuller or sit differently from the other. It’s completely normal to adjust one strap a little more than the other.
Start with both straps relatively loose, put the bra on properly, and then tighten them gradually until they feel secure.
You should be able to slide a finger underneath the strap without feeling like it’s cutting into your skin.
If you have to tighten the straps dramatically to get the lift you want, stop and check the band and cups again. The straps might be trying to compensate for a fit problem somewhere else.
Don’t Forget to Move
A bra can feel perfect while you’re standing still and completely different once you start moving.
Raise your arms.
Reach forward.
Bend down.
Walk around.
If the straps stay comfortably in place without digging into your shoulders or falling off, that’s a good sign.
Once you find a bra that fits beautifully, don’t forget that proper care matters too. Washing, drying, and storing your bras correctly can help protect the elastic, fabric, and overall shape, so your perfect fit lasts longer. You can learn more in How to Care for Bras So They Last Longer.
And if you’re wearing the bra underneath an outfit, take a moment to see how the straps interact with your clothing too.
Sometimes the right bra can make a surprising difference in how smoothly an outfit comes together, especially when you’re trying to create a clean, polished look like the ideas in 30 Cute Plus Size Weekend Outfit Ideas
Once the straps pass the test, there’s one final area you need to check before declaring your bra a perfect fit: the underwire.
Because that tiny piece of wire should support you not poke, pinch, or make you want to rip your bra off by noon.
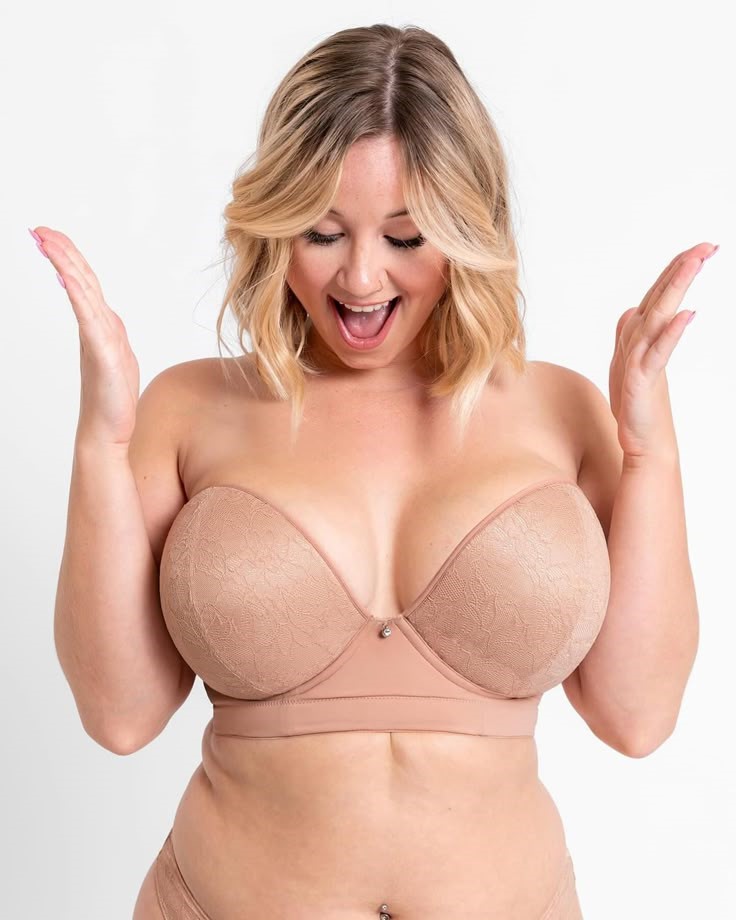
Your Perfect Fit Starts Here
Now you know what to look for. Measure yourself, check the band, make sure the cups fit properly, and don’t be afraid to try a different size or style.
You deserve a bra that supports you, feels comfortable, and lets you move through your day without constantly adjusting it.
So stop settling for “good enough.” Find the fit that actually works for you.